As promised in our last post, today we’ll explain about self-cleaning ovens. How do they work? How to maintain them? How to be safe around them? What is the difference between self cleaning oven and non self cleaning oven?
The difference between the two appliances is simple. The secret is in the heaters. Self cleaning ovens are capable of reaching extreme temperatures. Up to 500 degrees Celsius. In that kind of environment everything organic turns into ash. With the removing of the ash, the cleaning procedure ends.
Some type of ovens like after cooking in halogen ones will require you to pour some water and a degreaser before the self-clean process. Always read the manuals.
Self cleaning ovens feature special locking system called – mechanical interlock. It includes the door and the sensors. That function detects the temperature inside of the oven and locks the door if it’s too hot. It’s a great safety feature.
How to take advantage of the self cleaning?
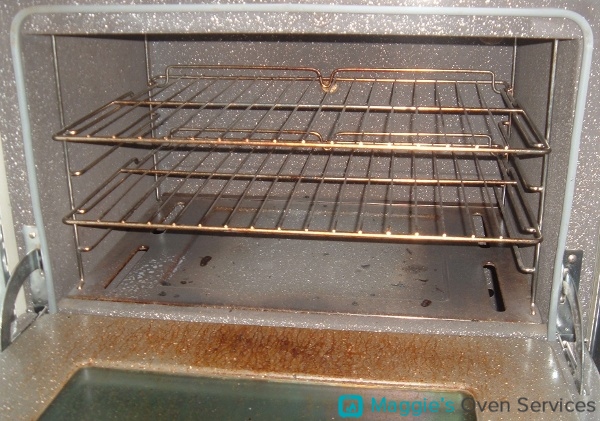
- Remove the chrome racks from the inside. The chrome cover may be damaged during the process and that will make the racks harder to slide in and out and will ruin their look. They are extremely easy to clean with a soft sponge, cleaning solution and baking soda. If left inside and the chrome cover damaged that will significantly reduce the life of the parts.
- Check all lights if they are well fixed. You don’t want anything loose inside.
- Scrape the food from the bottom with non damaging cleaning tool like non scratching scraper.
NB. Be extremely careful when cleaning by hand. You must not use any wired brushes or other tools in order to preserve the pyrolytic coating of the machine. It’s what makes self cleaning ovens self cleaning and it’s expensive.
- Turn on the extractor, remove pets (especially birds) from the room and open the windows. The smoke which the self cleaning procedure generates can be harmful.
- Read the manual and see how to turn on the self cleaning function.
- Usually the procedure takes about 3 hours. During that time, make sure not to touch the oven, for quite obvious reasons – it’s hot.

- When the procedure is over, you probably won’t be able to open the door because of the locking system. Wait until it cools down and then open it.
- Remove the ash from the oven.
- Clean with self sponge or cloth.
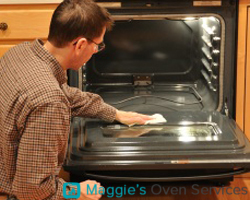
- Clean the door of the oven with degreaser and the back side of a sponge.
- Some ovens need to be reset after the procedure. See the video:
More information about these machines you can find here .
- Benefits:
- Have better isolation, which means less heat will be lost during cooking and therefore faster and more precising cooking will be possible.This also means better energy savings.
- Save us time and replace the day to day cleaning procedure.
- Downsides
- They are much more expensive.
- You still have to hire professionals for major cooker cleaning procedures. Self cleaning ovens cannot deal with stubborn stains and burns.
We hope this post was interesting and helpful. Next week we will see how different ovens should be transported, what may go wrong and how to do it properly. Have a nice week and be kind to the people around you.


